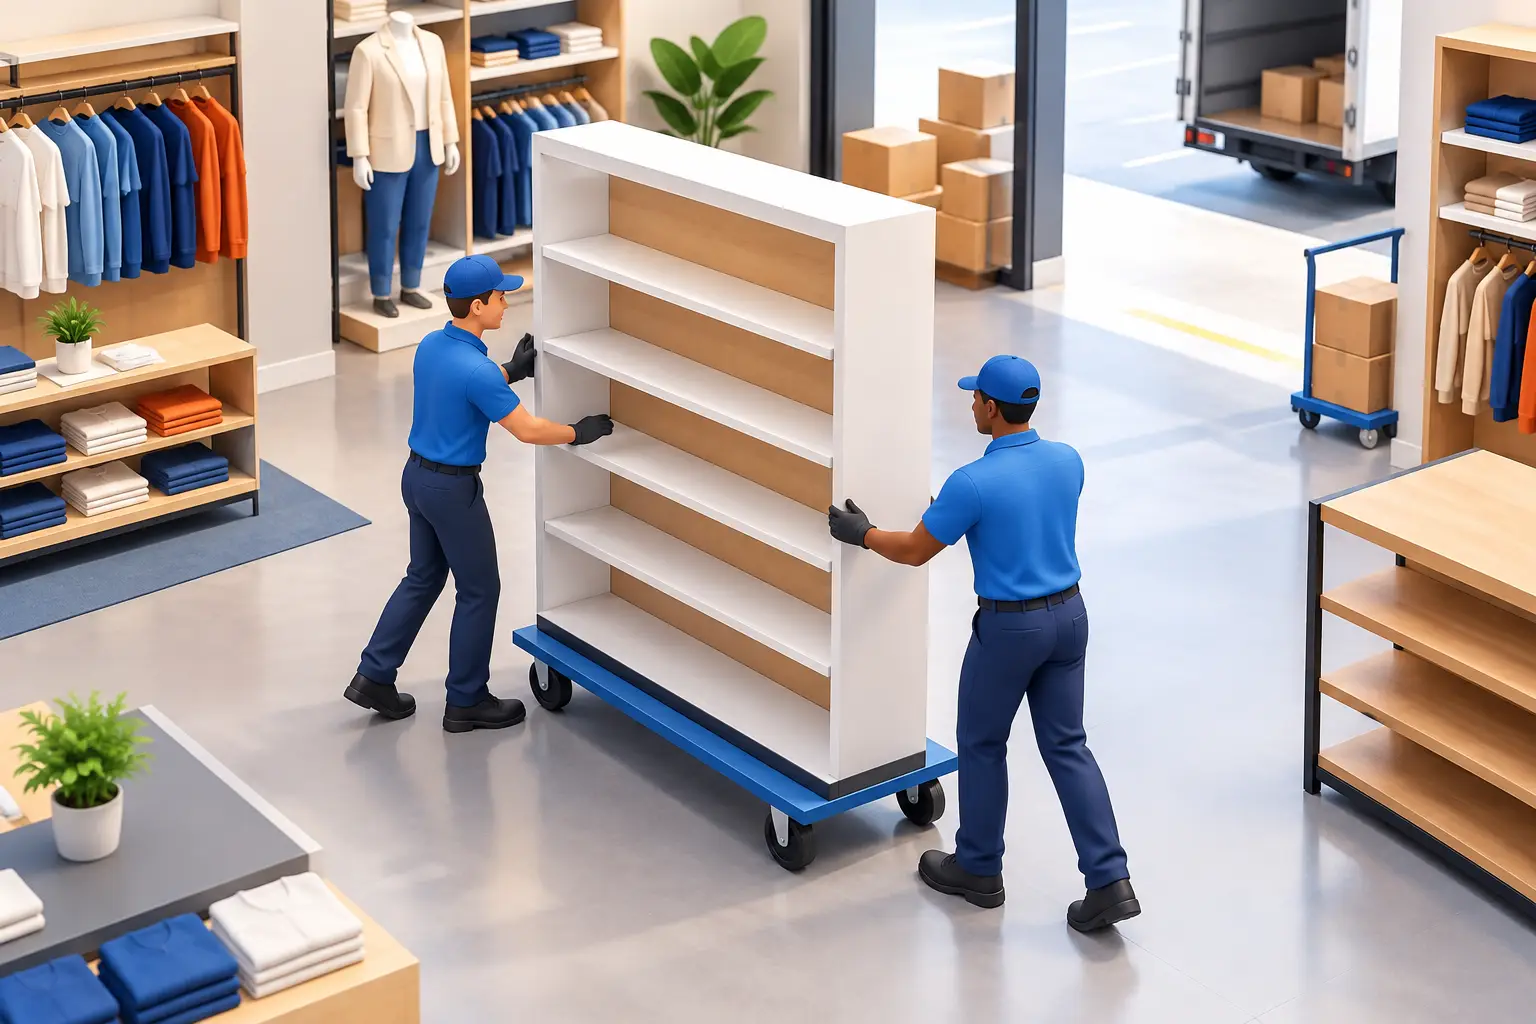
How to Move Retail Fixtures Without Disruption

A shop refit can stall quickly when a counter is too long for the loading route, shelving arrives in the wrong order or display units are damaged between sites. Knowing how to move retail fixtures starts with planning the physical journey, not just booking a vehicle. Measure the load, check access at both ends and make sure each item can be loaded, secured and delivered when your team needs it.
Retail fixtures come in many forms. A small boutique may be moving rails, mirrors and a till point. A larger retailer may need gondola shelving, stockroom racking, mannequins, counters, plinths and point-of-sale displays moved between branches or to a new unit. The right approach depends on their size, finish, weight and how soon they need to be back in use.
Start with a site and access check
Before anything is dismantled, assess collection and delivery access. Measure the widest, tallest and heaviest pieces, then compare those dimensions with doorways, corridors, lifts, stairwells and loading bays. A fixture that fits through a shop entrance may not fit through the rear delivery door or into a goods lift.
Check whether there are loading restrictions, timed access slots, pedestrian areas or landlord requirements at either location. Shopping centres and city-centre premises often have specific delivery arrangements. Confirming these details early avoids a vehicle waiting while access is arranged, or a load being left exposed while a new route is found.
It also helps to identify where the fixtures will be placed on arrival. If stock, flooring materials or contractors are already occupying the space, the delivery team needs a clear and safe unloading area. For a live store, agree a route that keeps disruption to staff and customers to a minimum.
Decide what needs dismantling
Some retail fixtures are designed to come apart. Others are more secure and stable when moved in one piece. Do not dismantle an item simply because it looks awkward to carry. Removing the wrong brackets, panels or fixings can make reassembly difficult and increase the risk of damage.
Where dismantling is needed, label each component clearly. Keep screws, brackets, shelf supports and specialist fittings together in sealed, marked bags. A simple label such as “Wall bay 3, left panel” is far more useful than a bag of loose fittings at the destination.
Take photographs before taking complex displays apart, particularly bespoke joinery, illuminated units and multi-part shelving. Photos give your team a practical reference for reassembly and help show which panels or trims belong together. If electrical items are involved, arrange for the appropriate qualified person to disconnect and reconnect them. The transport plan should focus on moving the items safely, not carrying out work that requires specialist installation.
Protect fixtures according to their finish
Retail equipment is often functional, but it still needs careful handling. Laminated counters can chip at corners, acrylic display cases can scratch, mirrors can crack and painted metalwork can mark when stacked against other components. Protection should suit the surface rather than being treated as an afterthought.
Wrap fragile or finished faces before loading, and use edge protection on panels, glass and counters. Keep glass, mirrors and acrylic separate from loose metal shelving and fixings. Flat-pack panels should be stacked evenly, with the heaviest pieces at the bottom, so they do not bow during transport.
Avoid putting loose parts inside drawers, cabinets or display cases unless they are properly contained. They can shift in transit and damage the interior. Doors, drawers and hinged panels should be secured so they cannot open while the vehicle is moving.
Keep a clear inventory
For a branch relocation or refit, an inventory makes the move easier to manage. It does not need to be complicated. Record the fixture type, quantity, location and destination area, then note any existing marks or damage before collection.
This is particularly useful when fixtures are being redistributed between several stores, or when the move includes stockroom equipment as well as customer-facing displays. It gives your project manager, store team and transport provider the same point of reference. If something is due to go to a separate address, it can be identified before it is loaded onto the wrong vehicle.
Choose a vehicle that suits the load
Vehicle choice is not just about how much space is available. The load needs to fit safely, be secured correctly and remain accessible in the order it is required. A small van may suit a few rails, stands and boxed display materials. Larger counters, shelving sections or a complete shop clearance may need a medium, extra-long-wheelbase or Luton van.
Think about loading height as well as internal length. Heavy cabinets and awkward counters may be easier to handle with a vehicle that gives practical loading access. For a phased refit, it can also be more efficient to arrange separate loads by area or installation order instead of sending everything together.
Loading order matters. Fixtures needed first should be accessible first, while heavy and stable items should form the base of the load. Every item must be secured for the journey, not simply packed tightly. A short trip between nearby sites can still involve sharp turns, uneven roads and sudden braking.
Plan the timing around your retail operation
The best time to move fixtures depends on the purpose of the job. A store closure may allow for a larger collection once stock and equipment have been cleared. A refurbishment may need fixtures removed before contractors arrive and returned only after flooring, decorating or electrical work is complete.
For a new opening, work backwards from the date you need the shop floor ready. Allow time for delivery, positioning and any separate assembly or installation work. If the fixtures are travelling from a manufacturer, supplier or another branch, make sure the collection point knows what is being collected and when it will be ready.
A dedicated vehicle is particularly useful when the load needs to travel directly from collection to destination. It reduces unnecessary handling and avoids fixtures being transferred between vehicles. This can be helpful for fragile displays, time-sensitive refits and items that need to arrive together for a planned handover.
Share the details before collection
A clear booking brief helps the transport run smoothly. Include collection and delivery addresses, contact names, access restrictions, opening hours, item dimensions where available and any deadlines that genuinely affect the job. Let the courier know if there are glass panels, oversized counters, multiple drop-offs or fixtures that cannot be laid flat.
If plans change, update the transport provider as soon as possible. Retail projects often move around because of contractor schedules, delayed keys or last-minute changes to a unit. Early communication gives more scope to adjust collection arrangements and vehicle choice.
When a direct courier service is the practical option
For a small number of fixtures, a marketplace collection or a planned store-to-store transfer, a dedicated courier can be a straightforward alternative to organising the move internally. You retain a direct point of contact, the items travel in a vehicle selected for the load, and collection can be arranged around your access requirements.
DB Couriers provides dedicated transport for retail fixtures across the North West and nationwide UK routes. Whether you are moving a counter from Liverpool to a new branch, collecting display equipment from a supplier or clearing shelving before a refit, we can discuss the load, access and timing before providing a tailored quote.
Do not leave the transport plan until the fixtures are already dismantled and blocking the shop floor. Share the measurements, collection details and delivery deadline, then request a free quote to arrange a move that fits your refit, relocation or store setup.
Comments